
Every month, I hold a craft workshop for kids in Tribeca and the theme is often related to the holiday of the month. This month, I held a ‘Peeps and Eggs’ workshop and the creative juices were flowing! Here are some tips and ideas if you want to throw a crafty Easter party for your little ones.
For table settings, I bought festive bunny plates by Elum and carrot napkins by Meri Meri. Next, I made crepe paper carrots for the kids to unwrap when they got to the workshop.
Crepe Paper Carrots:
Choose some small goodies for your guests that will go inside the carrots. I wrapped up stackable crayons in orange or yellow crepe paper and topped them with green crepe paper leaves. Start by wrapping tightly at the bottom of your ‘carrot’ and going a little looser at the top so it forms a tapered shape. Use hot-glue to secure the crepe paper in place once it is the right shape. Fold a piece of the green crepe paper in half, and cut out leaf shapes. Do this once more in either the same shade of green or a different shade of green. Hot glue those two green pieces together, keeping them folded. Attach the glued-together leaves to the carrot with hot glue as well. Your carrot is done!
I wrote each child’s name on a bunny-shaped cutout to use as a place card. I punched a hole in each bunny and tied it to the carrot with hemp twine, which gave the carrots a fresh-from-the-market look. I then used the carrot with the name tag as a place setting for the kids, so when they arrived at the workshop, they could find their name, sit down, and unwrap their surprise!
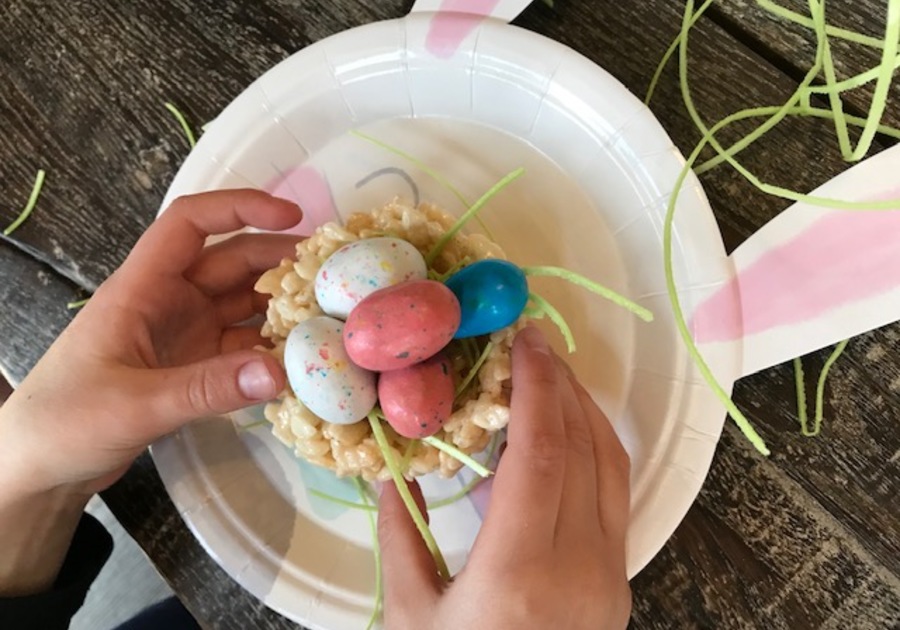
The first thing we made at the workshop were Rice Krispie Nests.
Rice Krispie Nests:
Follow the recipe for Rice Krispie treats and add 1 teaspoon of vanilla. Instead of putting the Rice Krisipe and marshmallow mixture in a tray, drop them into a greased muffin tin, and use a greased shot glass to press down and mold them into nest shapes. Put the muffin tin in the fridge overnight, and pop them out in the morning.
Each child took their nest, and filled it with some edible grass (I got strawberry and apple flavors from Michael’s!) and then added Robin Eggs, Cadbury Mini Eggs, or Speckled Jellybird Eggs. Voila! The nest is done!
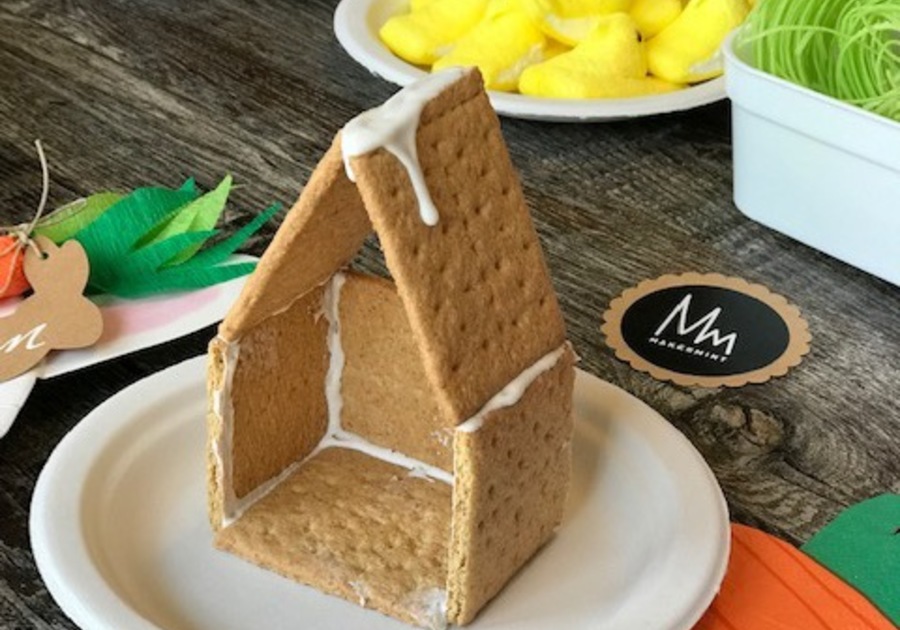
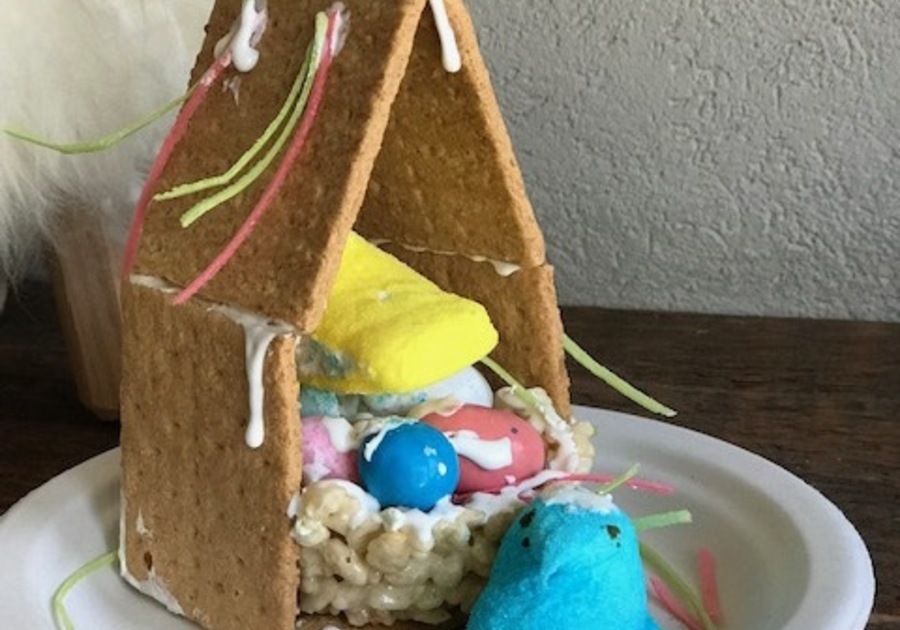
Our next project was decorating our Peep Houses, which were made by assembling graham crackers with Wilton Cookie Icing. I was inspired to make these when I saw them on Yesterfood, and thought it would be perfect for each child at my workshop to have a mini house to decorate. The graham crackers crumble easily and the cookie icing takes at least an hour to set, so I decided to make the houses ahead of time instead of doing it at the event with the kids. There is nothing more frustrating than a cookie house that won’t stay up, especially for little hands!
Peep Houses:
To make the houses, break graham crackers in half so each piece is made up of two rectangles. Use one piece as the base of the house, and then add a piece on each side of the house, and another to the back. Put them all together with Wilton cookie icing, hold them in place, and then let them dry for a half hour. Use two more half-pieces of graham crackers to create a roof, and ‘glue’ this together with cookie icing as well. Leave the houses to dry overnight, and they will be much more sturdy in the morning.
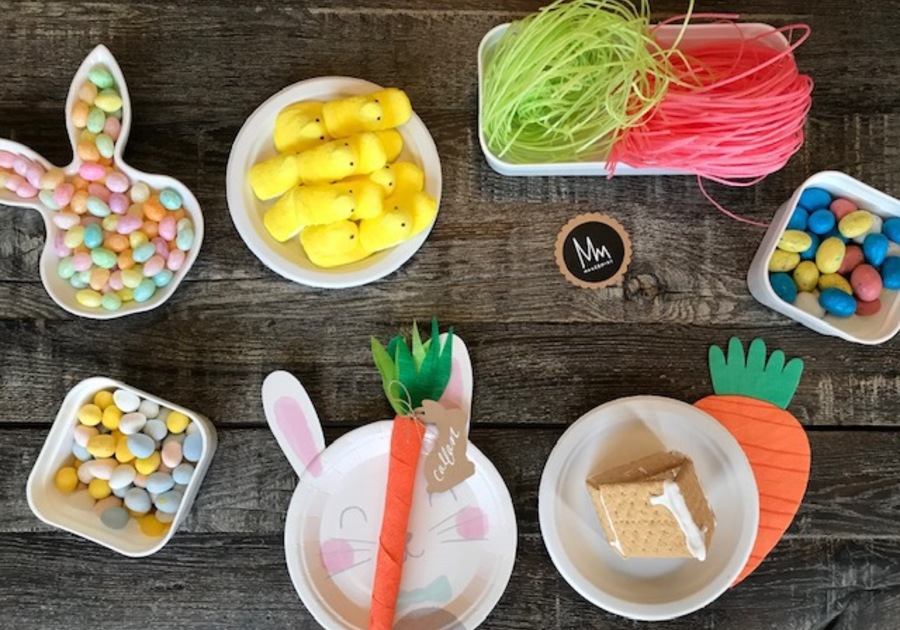
At the workshop, I put out the Robin Eggs, Mini Cadbury Eggs, Speckled Jellybird Eggs, Edible Grass, and yellow and blue Peeps for the kids to use to create their Peep Houses. The kids used the cookie icing to attach the candies on and around their houses. Some kids chose to squeeze their Rice Krispie Nests into the Peep houses to make things extra cozy.
Next up was the Egg Tattoo Parlor! I hard-boiled both brown and white eggs, and displayed them atop paper shred in a basket. The kids chose their eggs, and then I put out a tray of temporary tattoos by Meri Meri, who makes adorable and well-illustrated tattoos in a variety of themes. Each child got a washcloth, a sponge, a bowl with water, and a tray to work on their eggs.
Tattooed Eggs:
Simply peel the plastic lining off the temporary tattoos and apply them to the eggs, covering them with a very wet sponge for 25-30 seconds to apply the tattoo. Make sure the sponge is very wet and the tattoo gets enough water to stick. Peel off carefully, smooth down any wrinkles with your damp sponge, and voila! Your egg is decorated and done!
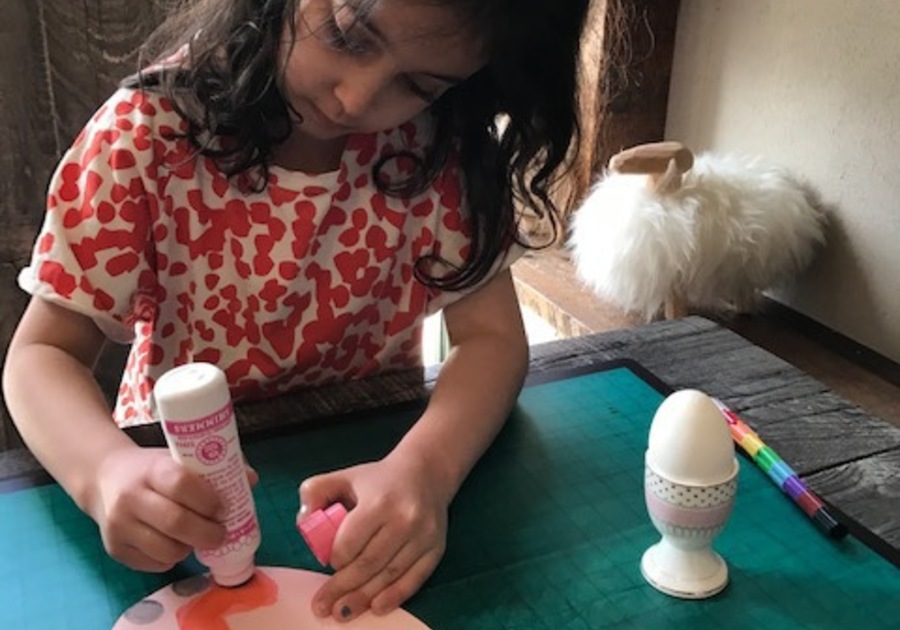
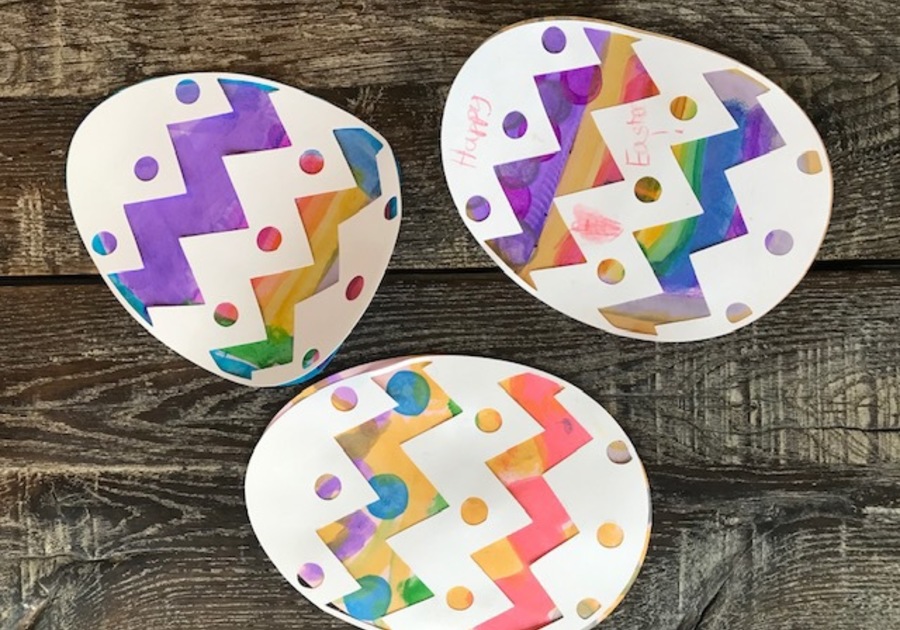
Our last craft was to make large, colorful paper eggs with card stock and Dot Markers.
Bright and Vibrant Paper Eggs:
For this craft, each child needs two card stock paper layers. One is a solid egg-shaped cut-out using colored card stock. The other layer is a white card stock egg cut-out in exactly the same size. On the white egg, cut designs out of the egg shape. I used my new Cricut machine to make these quickly, but you could cut out the designs using an X-acto Knife as well. Ask the children to decorate all over the colored card stock using dot markers, and when they are done, they can use a glue stick to attach the white cut-out to the top of the colored cut-out. Since they are both the same size, they should fit perfectly, and the colorful card stock will show through where the designs are cut out of the top white layer. Your colorful decorated paper egg is done!
These are some fun, festive ideas to celebrate Easter in a creative way! Enjoy eating the nests, decorating your home with the Peep Houses and Tattooed Eggs (both edible) and the large paper eggs! I will be packing tattooed eggs in my kids’ lunch boxes every day until Easter myself! Happy Easter and Happy Making!
Renu Blankinship founded Makermint, a Manhattan-based crafting company, providing private crafting services and event planning for adults and children. Makermint also holds regular craft workshops in Battery Park City and Tribeca. Renu is a downtown mom of three and a lifelong crafter.
Related articles:
 |  |  |
Macaroni KID Lower Manhattan is the family fun go-to source for the latest and most comprehensive information in our area. Subscribe for FREE today!